Planks are a great exercise but, for a few athletes, they can be really hard on the back and/or neck. Described here is the way I teach planks so that athletes are safe and can still feel like they are getting a workout. Yes, there are a lot of steps (you can do them in 10 minutes) but if you follow all these steps you will gain some insight into what your strengths and weaknesses are and how to train them without missing fundamental movement patterns.
Notes about the Progression/Guidelines:
- The athlete must be able to breathe into the belly through all these positions and/or exercises before moving to the next step (most of the time)
- Watch carefully for chest and neck involvement, remember the best athletes are the best compensators (cheater is such an ugly word)
- These are guidelines, take these exercises/positions as examples, but follow the tests more literally.
- Progress by teaching position first, then movement, then strength
- Start from the inside and work outwards
- Start from the ground and work upwards or in this case, start supine and work towards prone
- This is pretty close to our core assessment
- This a compilation of the work of many coaches that are way smarter than I. Thank you!
- Let me know if you have any questions
Mad Dawg Method Plank Progression/Guidelines:
- Supine 90/90 – Confirm the athlete can hold a neutral spine and breathe.
- Supine 90/90 Single Leg Hip extension – Confirm the athlete can hold a neutral spine with a small load.
- Supine 90/90 Hip extension – Confirm the athlete can hold a neutral spine with a greater load.
- Hollow rock with hands on knees – Confirm the athlete can hold a posteriorly rotated pelvis, or hollow position, with some neck movement and no knee movement, while the body is in different positions.
- Supine 90/90 Single Leg Hip extension, lower back on the ground – Confirm the athlete can hold a hollow position with a small load.
- Supine 90/90 Hip extension lower back on the ground – Confirm the athlete can hold a hollow position with a greater load.
- Start working prone after the athlete can hold for this position for three breaths: Supine 90/90 Hip extension lower back on the ground, hip and knees extended (flexing the knees to create posterior pelvis rotation is a very common compensation)
- Prone posterior rotation of the hips with extended hips and knees: Confirm the athlete can get herself into a hollow position while prone with hips and knees extended.
- While the athlete is in a prone hollow position, lift athlete at the knees or hips: We are testing hollow position with hips and knees extended with a little load (this also gives the coach a feeling about how tight the athlete is holding the position without touching the athlete’s butt). You could also easily sub in a knee plank and lightly press on the crest of the pelvis to test stability of hips and low back.
- Quadruped posterior/anterior hip rotation (both knees on the ground and knees off the ground): Confirm the athlete can actively rotate pelvis with load (i.e. can they change their position if the coach wants to make a fix). This is also a great place to address shoulder position. Shoulders should be down towards the hips and away from the ears. Athletes shouldn’t have to change low back position to put their shoulders in the correct position.
- Rock to plank: Confirm the athlete can actively move in and out of the hollow position with hips and knees extending and flexing.
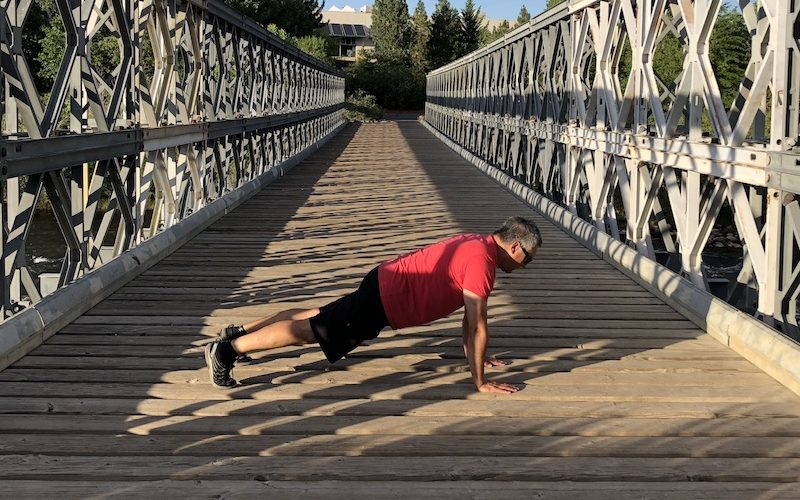
- Elevated plank (optional) or Plank: Let’s put everything together and load the position and see what happens.
One thought on “Coaching the Plank”
Congratulations!
You got it going
I can hear you….breath, breath…are you breathing?