As I am starting over again in Reno, I have done some networking and there is always that moment when I am asked what I do. I have narrowed that down to something like: “I work with licensed health care practitioners to help athletes of all ages and abilities Return to Play.” That is a nice elevator speech, but what I actually get paid to do is what people often call “core training.” But what is the core and how do we train it? It seems like everyone has a different take on those two topics. Let’s unpack “core training” and see if we can get to some specifics. Hopefully, doing some of the exercises below will help you see, and feel, why the first three steps of the Healthy Strong Fit Method are dedicated to core training.
I define the core as everything in-between the pelvis and rib cage, basically, everything from the pelvic floor to the diaphragm. This definition does _not_ include the muscles that attach to the upper part of the pelvis or iliac crest, i.e. the superficial abdominals, the obliques, transverse abdominis and the rectus abdominis. You’ll see that the HSFM trains both the superficial abdominals, and the deeper core, but we train them in a slightly different way.
I am limiting the muscles to the space between the inner ribs and the inner pelvis because mostly those muscles have three characteristics and therefore require a different method of training than many athletes are used to:
- The majority of core muscles can’t be cognitively fired like the bigger superficial muscles (e.g. glutes, quads, biceps/triceps, etc.), the way we’ll get the core muscles to work is to require them to hold/stabilize a position or move smoothly and precisely between positions.
- The majority of core muscles are slow-twitch muscles so we’ll test them though movement quality over time rather than capacity.
- Finally, and most importantly, these muscles “fire’ milliseconds before you need them, i.e. they fire as a result of a movement strategy that has been created by your brain.
Now that we know where the core is, what does it do, and how will we train it? Within the context of the HSFM, we are going to train the core to do two things:
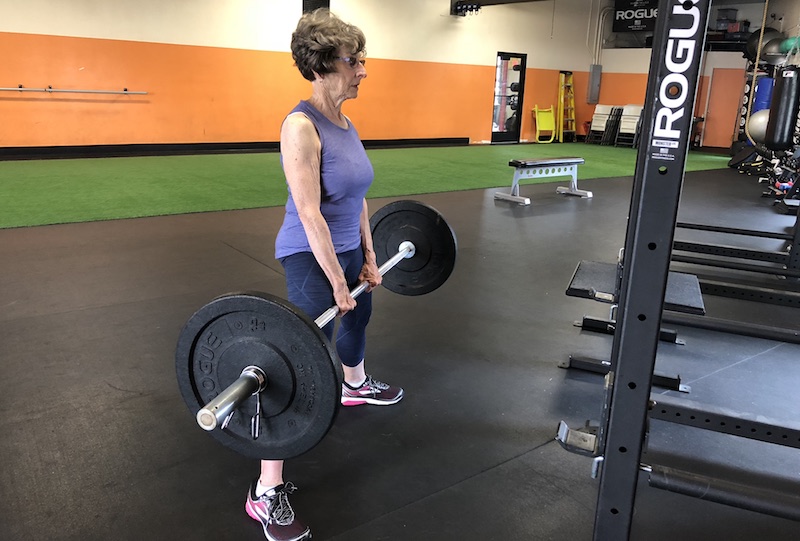
- Stabilize the spine by “connecting” the rib cage to the pelvis during the majority of loaded movements (e.g. squats, deadlifts, pressing, kettlebell swings, Get-Ups, etc.) and in many leveraged movements (e.g. handstands, dips, push-ups, etc.).
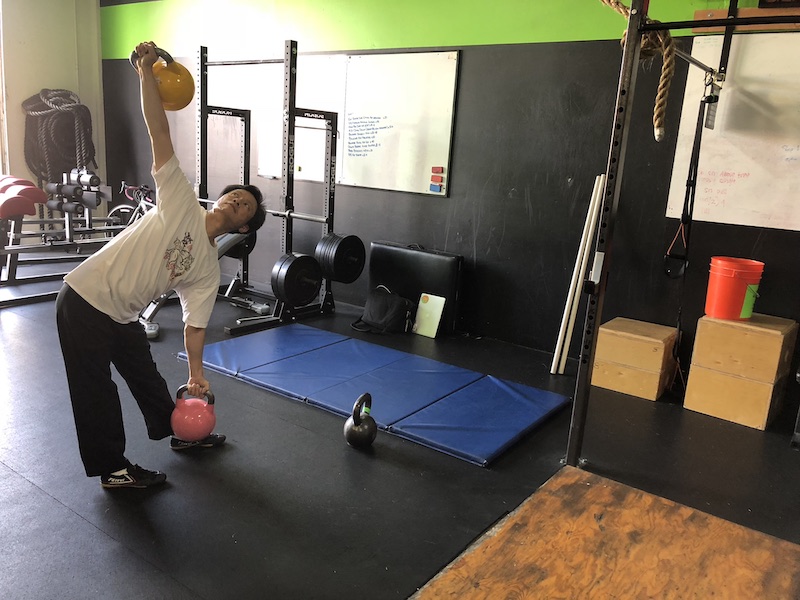
- Stabilize the spine by controlling the disconnecting of the pelvis from the rib cage in unloaded or lightly loaded movements like walking/running/crawling/locomotion, throwing, punching, kicking, dancing, climbing, etc.
Note that my definitions are unique to the HSFM. I can very easily imagine that in a few years as I add knowledge, my skills improve and/or I add different techniques to my practice, I will redefine the location and the function the “core.” I have created the definitions somewhat arbitrarily so that I have an organized way of doing the following:
- Provide an easy way for both the coach and the athlete to connect on what we are going to change.
- Provide both the coach and the athlete a look into how we are going to make changes, i.e. what exercises we’ll use and how we’ll those exercises.
- Most importantly, the above definition provides a pathway for both the coach and the athlete to both develop and test movement literacy, i.e. progress the what and the how in an orderly fashion.
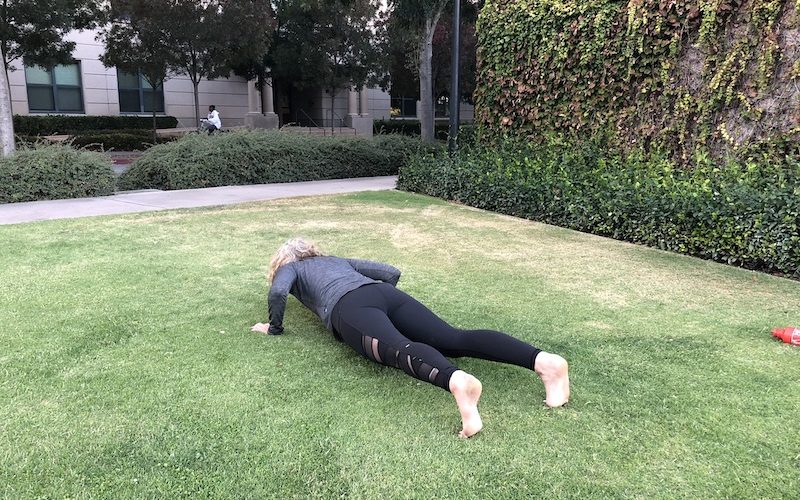
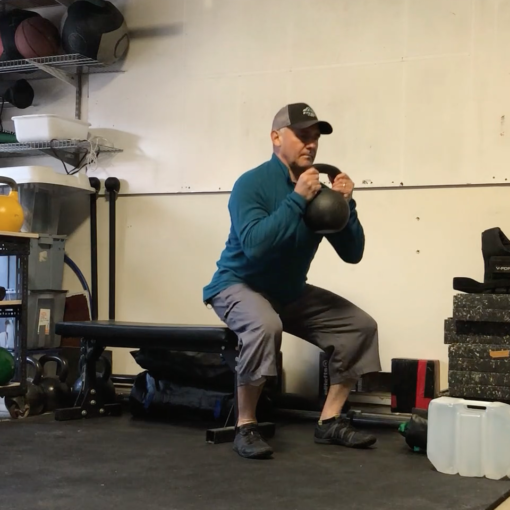
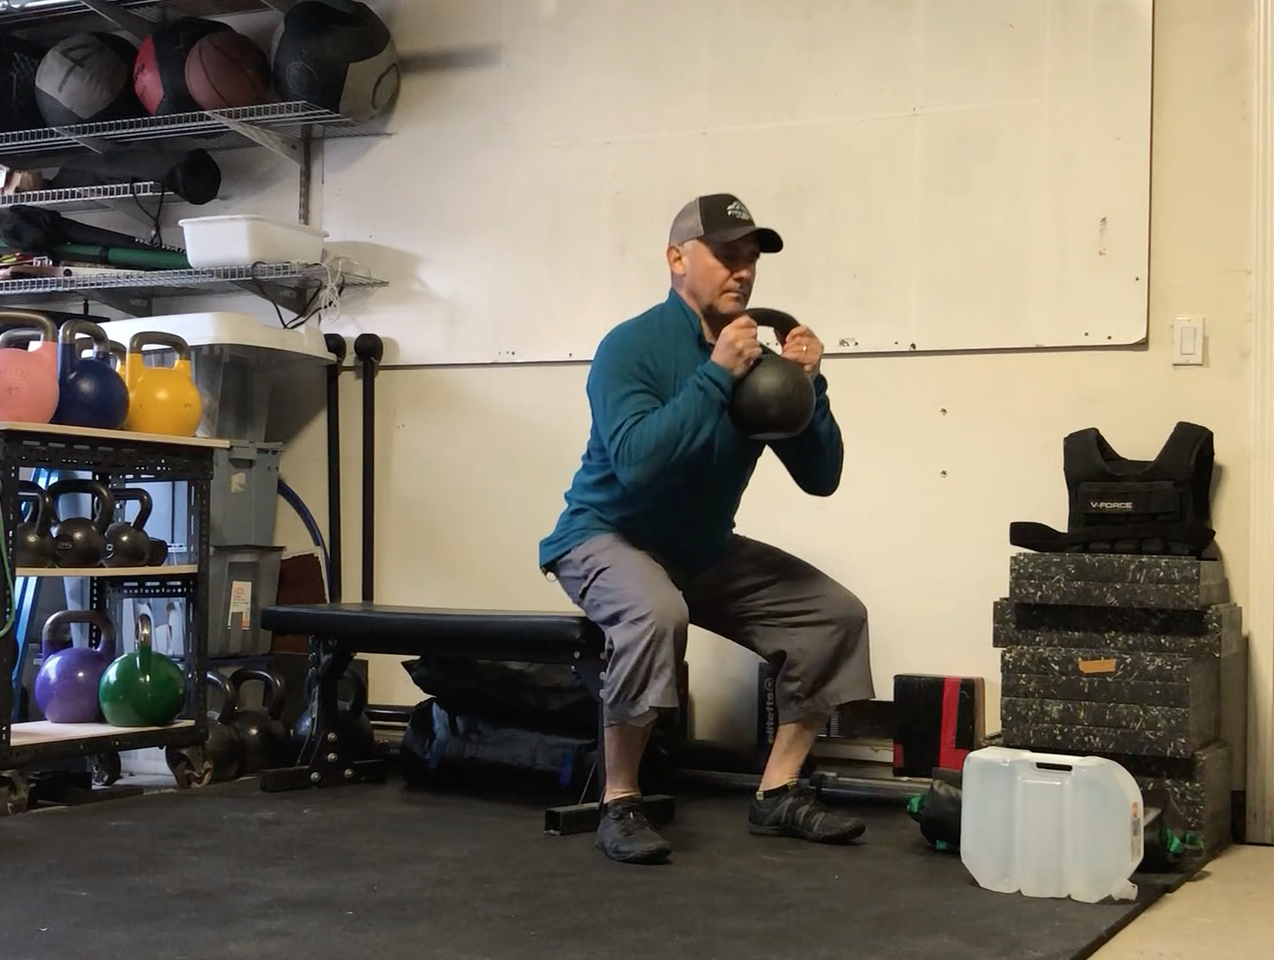
Let’s break out some examples so we can create some context. Step 1 in the HSFM is appropriate for beginners to core training but could work for even advanced athletes who haven’t trained this way before. The central movement pattern I am getting after with Step 1 is hip and knee flexion in the sagittal plane while maintaining a neutral spine with relaxed and rhythmic diaphragmatic breathing. Breathing is the gateway drug to training with a priority on movement quality.
- Diaphragmatic breathing with both hips and knees partially flexed feet on floor.
- Diaphragmatic breathing hips and knees extended.
- Diaphragmatic breathing with an emphasis on moving the breath to the sides and back.
The first three exercises of Step 1 are to create a baseline of functional breathing with a neutral spine. The remaining exercises start working on the gait pattern. We will use this breathing pattern as our gatekeeper for progression, i.e. if you have to hold your breath while in a position or in movement, we’ll back up and develop that skill. Note that even though these movements are in order, it doesn’t necessarily mean an exercise is easier than the following exercise.
- Single Leg 90-90 hip flexion and extension, “resting leg” is down, knee remains flexed.
- Single Leg 90-90 hip flexion and extension, “resting leg” is up, hip and knee flexed at 90-90.
- Bilateral hip flexion hold in 90-90
- Bilateral hip flexion and extension in 90-90
Many times, you can get through Step 1 very quickly, and move on. However, there is a different focus in Step 2 and what is developed in Step 1 may be the step you are missing in your training. I do parts of Step 1 in every training session. These positional drills are fundamental to every training session.
In Step 1 exercises, we worked on hip flexion and extension with a neutral spine while breathing evenly and rhythmically, we want to make sure the athlete can connect the rib cage to the pelvis. Many times, the inability to connect the rib cage to the pelvis is a major efficiency/performance issue because the athlete gets some hip flexion and some lumbar flexion to create a position where only hip flexion is necessary. In Step 1, we train the core by connecting the rib cage to the pelvis and we add load, or leverage in this case, to test a flexed hip position. Most importantly, both the coach and the athlete have a clear idea of what it means to be successful on the exercise and when to move on or go back and work on the movement.
In Step 2, we are going to train hip flexion and extension while disconnecting and realigning the rib cage with the pelvis.