Lately, I have had a couple of my athletes complain of knee pain with squatting. Both spend a lot of time at the computer. I know I have been suffering from sitting/desk related issues and I suspect many others are as well. I don’t fall into the “Sitting is the new smoking” camp nor am I one of the many who say that posture/sitting position can’t be linked to various body pains. In my experience, position while working and while training can change the training effect of the exercise, but more importantly, attention to position helps athletes gain a deeper understanding about what they are doing and why they are doing it.
I am not going to lie, or NGL as I learned from one of my athletes, when addressing knee pain, it is way easier to deal with knee pain while squatting in-person, in a gym, but the method is the same in-person, online or in print. The method has three levels:
- The Basics: Define the squat and move through each of the pieces of that definition and make sure the athlete is doing them close enough to bio-mechanically correct. In addition, make sure the athlete has a cue to use that will help remind him/her of appropriate position, movement during the squat. This is what we are going to focus on in this post.
- A Deeper Look: Most of the time, a little extra attention to position and movement will address knee pain. However, sometimes an athlete can’t get into a certain position or move effectively between positions so we dig deeper, do a more complete assessment and history.
- All the Details: This final step of the method is reserved for either coaches and/or athletes who are also working with a licensed health care provider for chronic pain.
The first step of The Basics is defining the squat.
A squat is ankles, knees and hips, flexing and extending, simultaneously, with a neutral spine.
This is my definition and it serves as the foundation of how I work through squatting issues. It is how I define the problem space. I have no doubt in a few years I will probably change my definition. The only function of the definition is to serve as a starting place. If the athlete and I are not making progress and we have to start over, at least we know where to start.
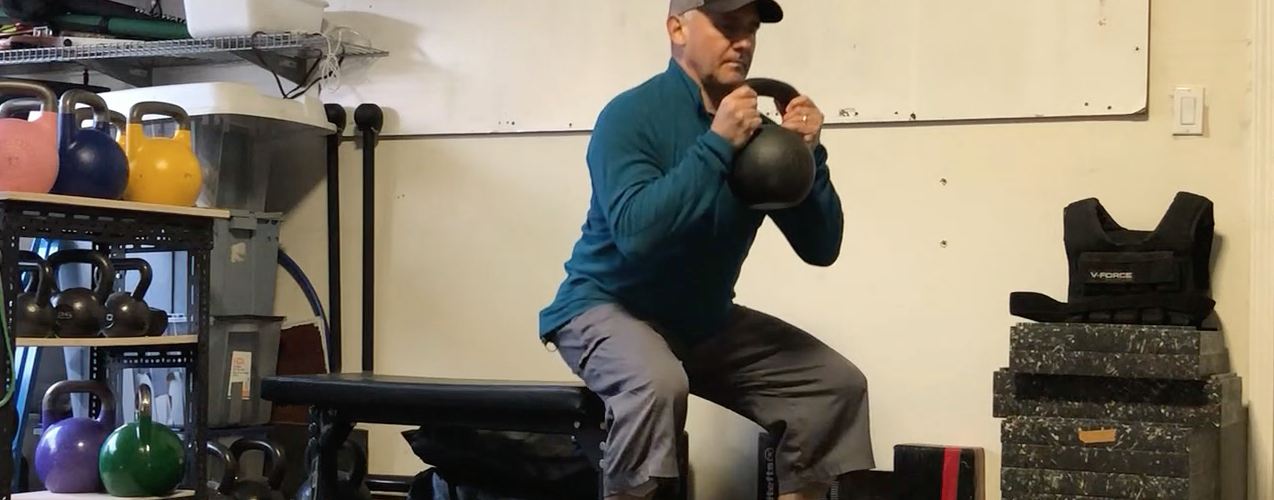
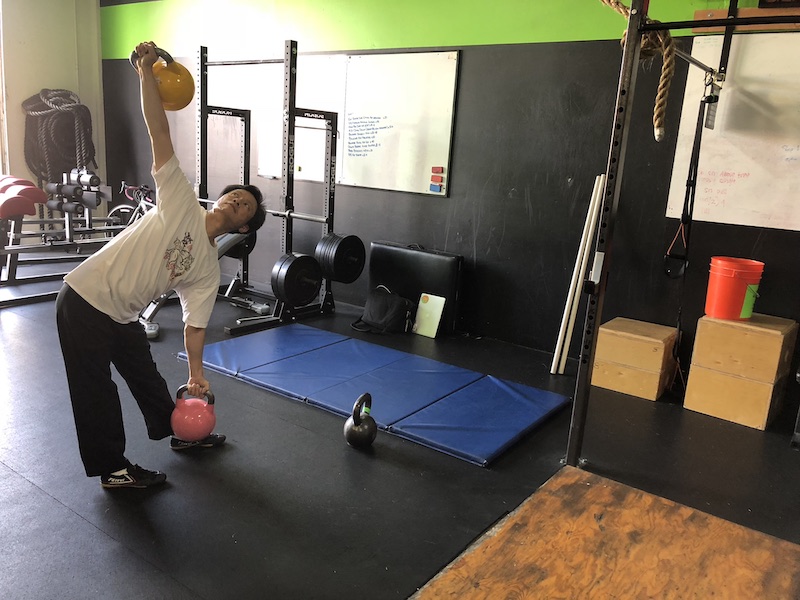
Step 2, we are pretty sure we are going to have to adjust the athletes movement pattern so I would do three things before actually squatting. The first is to use a bench or a chair to squat to so the athlete feels safe and isn’t worried about falling on his/her butt. Another very helpful option is to use a mirror so the athlete can adjust technique in real time. I also change the load to the front and use a bear hug squat or the goblet squat as shown in the video. When we start squatting, the first thing I look at is the ankle, knee, and hip joint to see if they are flexing and extending simultaneously. Here’s the tricky part, the hip and the knee have somewhere near 125 degrees of range of motion and the ankle has somewhere around 25 degrees, so if the hip moves “a little” at the beginning of the squat, say 10%, the hip and knee are going to move about 12 degrees and the ankle is going to move about 2 degrees. 2 degrees is hard to see. I like the way Kelly Starrett, at the Ready State, thinks about movement, when the athlete starts the movement, he/she enters a tunnel, how he/she enters the tunnel is the critical point in a movement to get right first. You can either use an app like Coaches Eye, to break down the start of the movement one frame at a time or you can just assume by the bottom position, i.e. how the athlete leaves the tunnel, what is going on at the start. Either way has its place but for this example, since we don’t have a case study, we are going to assume what is by far the most common issue, excessive ankle flexion at the beginning of the squat. My go-to drill for teaching simultaneous ankle, knee and hip flexion is the widen the stance a little, make sure the athlete’s heels are at least half a foot length, three quarters is even better, from the bench/chair and finally, have the athlete start seated and try to figure out how to pull themselves up. There are a number of drills on how to help the athlete use the squatting muscles in a new way, but being able to use the back muscles of their legs is the eventual outcome. If both the front of the leg and the back of the leg are being used, usually, the ankle issues are eliminated or reduced to increasing ankle mobility.
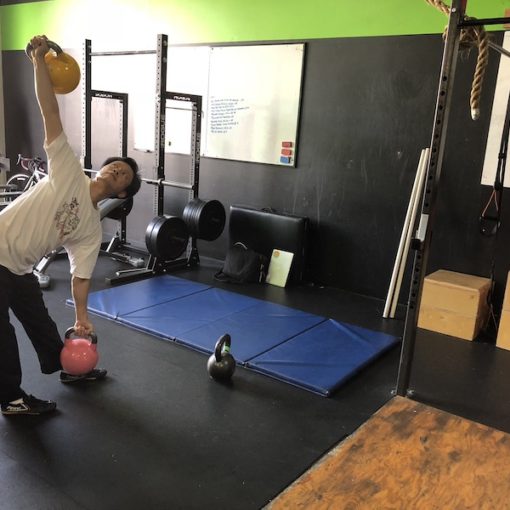
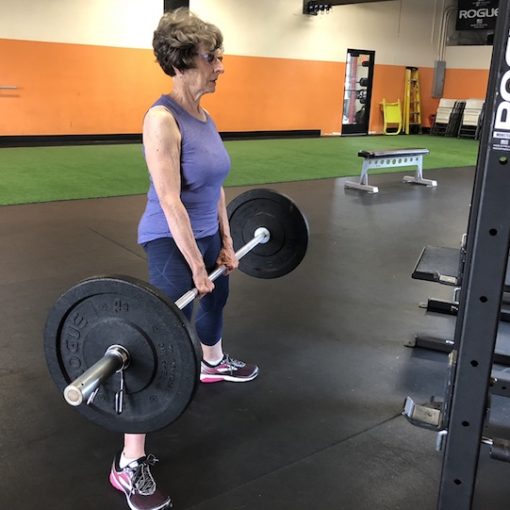
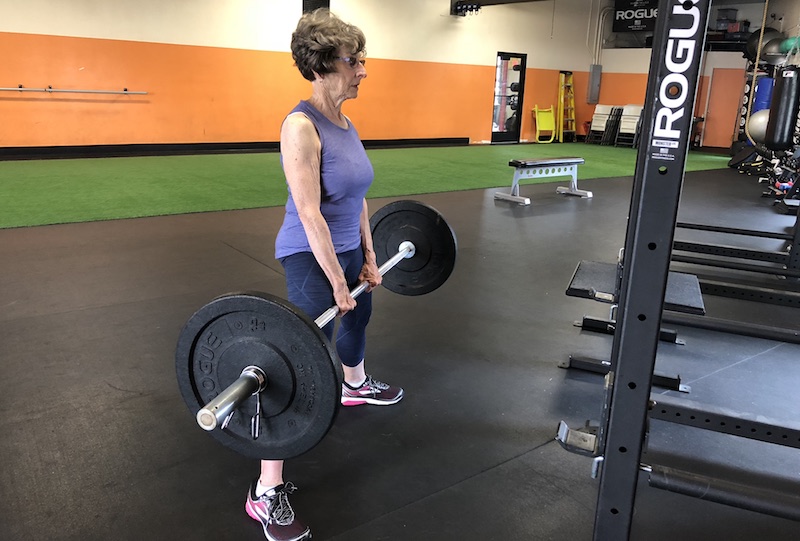
Step 3 is to make sure the spine is neutral. The first assessment or drill is is covered in the hinge drills video. While these are shown in the context of hinging, you can also do these with the seated squats shown in the video above. The second assessment or drill is confirm the athlete is creating some tension in the upper trunk. The athlete can do this a number of ways, but the two most common ways are by pulling the KB handle, or horns, apart or by pulling, with the back muscles, not the chest and arm muscles, a sandbag, or other object like a water jug, in towards the spine. As the athlete develops a more neutral spine, you might also see the spine stay more upright, i.e. more perpendicular to the ground.
Step 4: The last step is to breathe throughout the squat. If you are having pain when you squat, take a break from training for strength and start training for better, more efficient and effective movement. Reduce the load and, as I mentioned above, change the implementation details like load placement and your technique by introducing breathing to help teach your body a better movement pattern.
I hope these basic tips help with dialing in your squat and, if you have pain, helped address that issue. If you want a deeper dive into the details, stay tuned.

